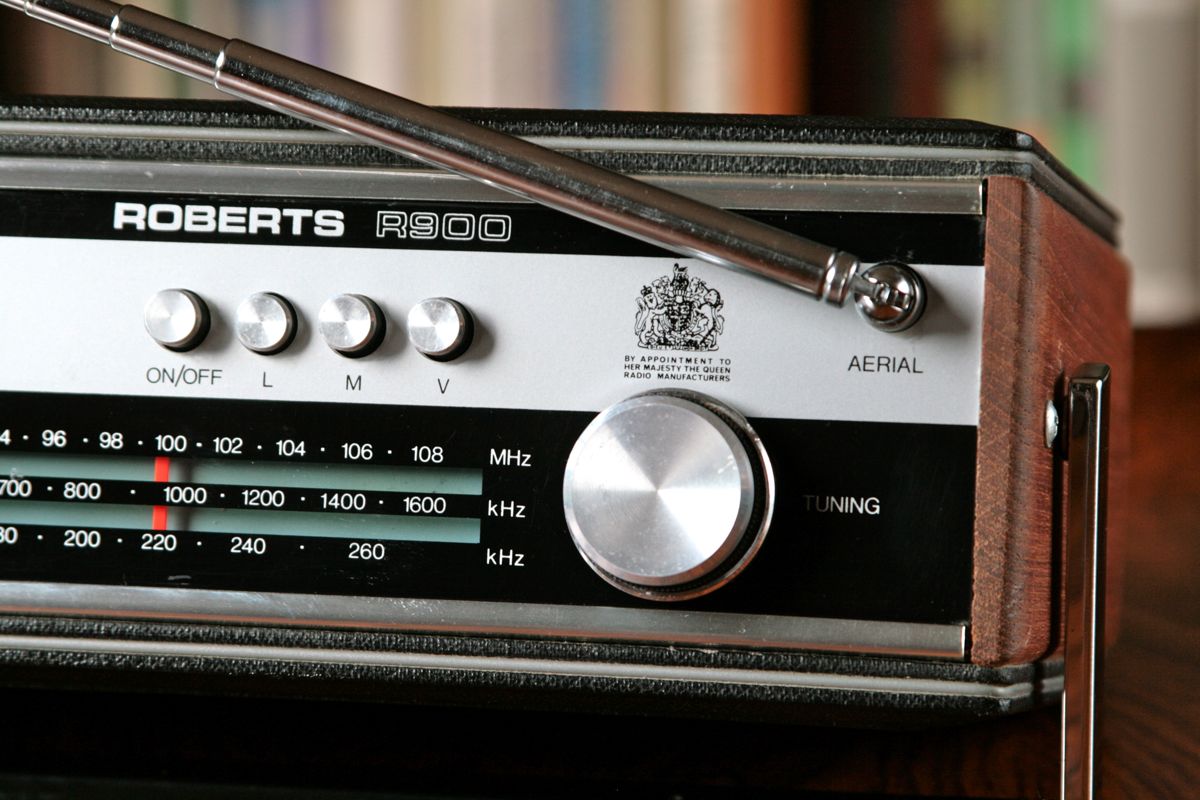
Has your Roberts R900 radio stopped working? If you radio has no sound from either battery or mains power there may be a simple way you can repair it.
Warning: Disconnect the radio from mains power before attempting to disassemble you radio!
We’ve been using an R900 as a kitchen radio for several years and it suddenly stopped working. The problem was due to the power switch and can be fixed with switch cleaner or a simple length of wire. If your Roberts R900 no longer makes any sounds – even faint pop when you press the on/off button it may have the same fault — the push button switch.
After checking on both battery and mains power, remove the battery cover, battery and battery cable clip held in place with a nut. Then carefully pull the two pin brown audio connector by lifting the plastic clip. Unscrew the telescopic aerial by removing the cross head screw and both screws above the handle on each side. Pull apart the red and black loudspeaker cable connectors.
The radio dial and chassis will then pull out the top of the case – it may need a gentle push from inside using a long pencil end. When visible, remove the two pin AC connector with green wires and pull the chassis clear from the case.
Check the power switch (marked on/off on the circuit board) using a multimeter – the switch has two rows of three pins – with the push buttons at the top the right hand side set switches the 9v power. There’s a white twin cable running across the circuit board to the switch marked B1, B2. This should read short circuit (< 1ohm) on a multimeter when the button is pressed.

R900 On/Off switch with access hole drilled
On my radio the on switch position reads open circuit so the contacts had likely oxidised or worn. The switch is encapsulated so using aerosol switch cleaner is not an easy option. So, try drilling a 2mm hole in the black switch housing to allow contact cleaner to penetrate inside and deoxidise. I removed capacitor C35 to drill a hole as shown above.
There’s a risk of damaging the contacts so don’t press the drill bit hard and keep it closer to the brown top. Then apply a small amount of switch cleaner, operate the power switch several times and check the resistance with a multimeter.
Connect a battery and loudspeaker before reassembly to check the switch works again reliably.
If you don’t want to risk drilling a hole or the switch cleaner fails there’s one other option. Fortunately, the switch has two poles – the centre connection normally connects to the upper contact when depressed but also connects to the lower contact when released. So a simple wire link between top and bottom contacts allows the switch to operate – but in reverse so the radio works when the button is released.
This may be confusing at first and if the contact decides to work again the radio won’t switch off. It may also surprise you with voices in the middle of the night so is not an ideal fix!
Removal of C35 left a sticky residue around the PCB indicating the electrolytic had leaked and could be causing the problem. I cleaned the area and replaced the cap with a 470µF 25v. Note the image below shows the adjacent TDA1220B chip which provides the AM and FM intermediate frequency amplification and detection.

R900 faulty electrolytic capacitor C35
There are several other common faults that can cause loss off sound so if the on/off switch is not the cause here are a couple of other things to try. Plug some headphones into the jack socket on the top panel and check if there’s sound. The jack socket has a pair of contacts to disconnect the speaker when the headphones are plugged in and these can oxidise like the on/off switch. If there’s audio via the phones or the sound returns when the jack is unplugged try a little switch cleaner through the phone socket and insert the plug several times to remove the oxide.
Finally if your radio still has no sound or just makes a crackling sound you could apply switch cleaner to the volume control. It’s best to remove the chassis as described above to access the control’s. Use the nozzle to squirt a small amount directly into the control where the three wires connect and fully rotate the volume in both directions several times. This should clean the wiper contact and restore operation.
Hopefully one of these will fix you radio.


Leave a Reply