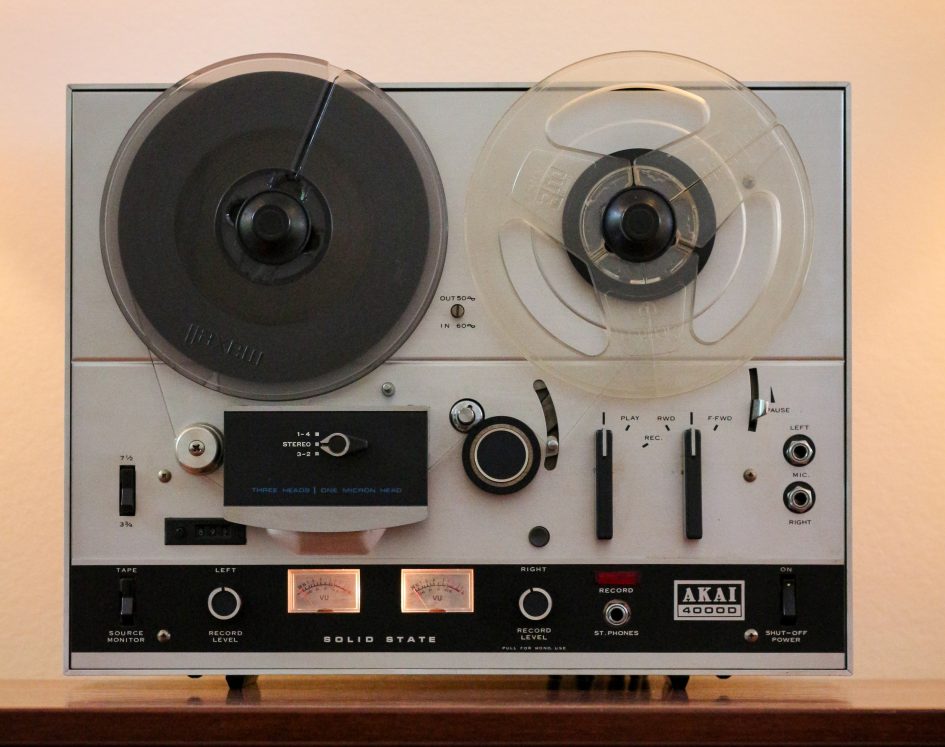
In this post I run through some repairs to one of my oldest audio items an Akai 4000D reel-to-reel tape recorder first manufactured in the 1970s. I bought the tape recorder second hand in the early seventies from an ad in the UK’s Exchange & Mart. A far cry from today’s 24h online marketplace where sourcing ‘pre-loved’ retro tech is easy.
The 4000D has been in storage for over 10 years after my hifi stack was decommissioned to make some space for the family and a digital world. In truth, back in the mid noughties recording analog tapes was a rarity as I digitised my vinyl collection and jumped on the MP3 juke box bandwagon. A Windows media PC provided the storage along with digital TV tuner that have all met their demise through end-of-life policies and incessant upgrades.
Clearing out our storage space I found the 4000D along with several 7 inch tapes and decided it was time to dust of and try to listen again. The Akai 4000D was originally paired with my Gold series hifi stash that I wrote about in Homebrew 1970s Hifi Stereo 25w Amplifier and FM Tuner – and later it joined my Homebrew Hitachi Mosfet Power Amplifier setup.
Powering up the Akai 4000D after its long rest, I was surprised to find the reels still turned at what appeared to be the right speed. But while the mechanics functioned the audio needed some attention. The playback sound levels from left and right channels were erratic and in record mode the left channel VU meter stuck in the red.
Akai 4000D Faults & Fixes
I’ll step through a list of faults I found with the Akai 4000D electronics and their remedies. If your 4000D suffers from one of the faults skip to the section below.
- Low level erratic audio on playback
- Left channel stuck at max level on record
- Playback hiss noise
- Replacing electrolytic capacitors
- Slack belts
Warning: Do not operate your tape recorder with the case removed. Dangerous voltages are present inside.
Low level erratic audio on playback
When playing back a tape the left and right channel audio sounded erratic with level changes and weaker sound from the left or right. I noticed a distorted playback sound. The levels changed when the tape track sector switch was moved gently indicating the contacts had oxidised in storage. This is a common problem with silver plated switch contacts.
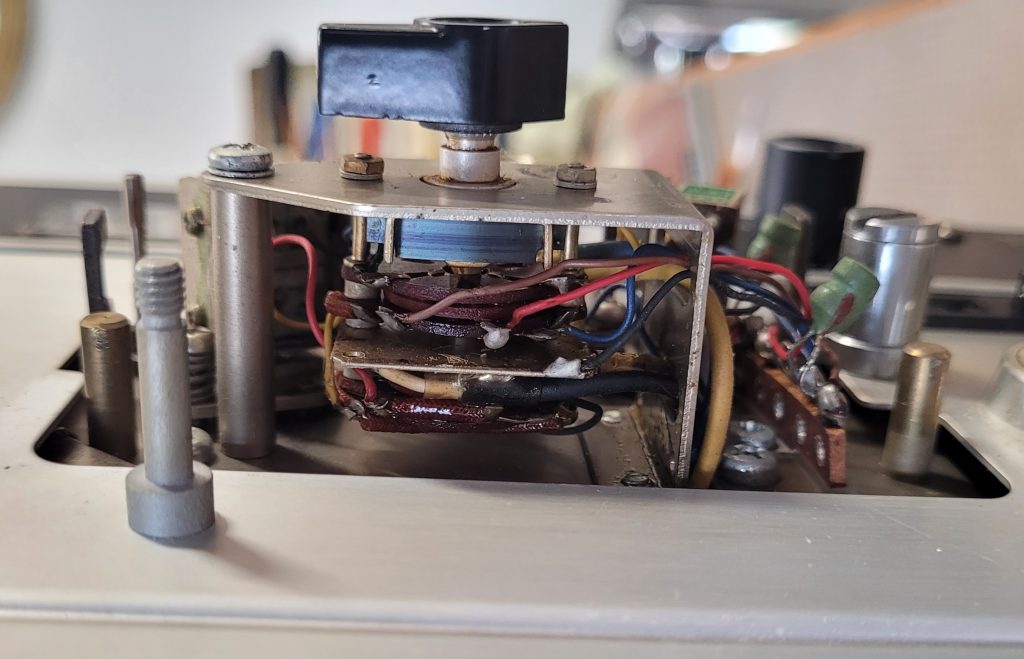
With the head cover removed to access the rotary wafer switch, I applied Servisol switch cleaner and rotated the head switch several times to remove oxidation. This improved playback sound levels and reduced the distortion.
Left channel stuck at max level on record
On record mode the left channel VU meter hit the end stop well into the red zone! Moving the record left control appeared to make little difference. Right channel level and control functioned normally so I suspected the left channel record amplifier. I compared right and left audio levels on the control potentiometers (the one with the mono switch below) and found the left channel could not be controlled.
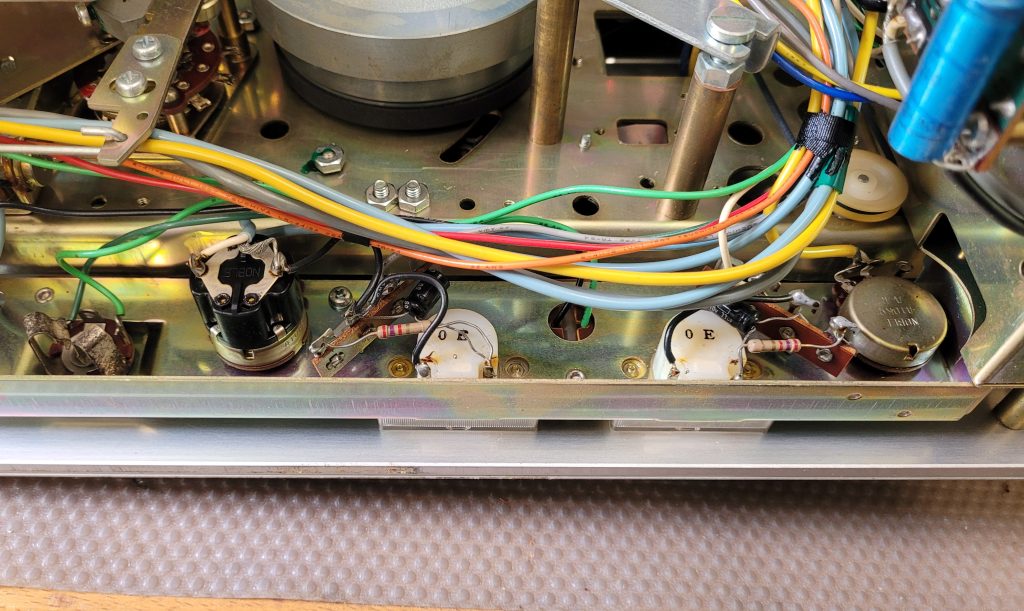
Again a squirt of switch cleaner and several rotations of the left control restored the VU meter into sensible territory. I applied cleaner to the right channel control as well to prevent similar issue occurring although this was a different type of pot and had not been affected. Spray the cleaner using the fine nozzle in the gap next to the three solder connections so it penetrates the carbon track and wiper contracts.
Playback hiss
Listing to recorded tape through the headphone output, I noticed some hiss when the music faded or a track ended. It had been some time since I’d heard the Akai but I didn’t recall the noise being as obvious.
Of course, compared to CD playback, an analogue tape will have more noise — after all it’s why Mr Dolby made so much money! Akai produced a sucessor model, the 4000DB, which had built in Dolby noise reduction circuitry so perhaps my older 4000D is just showing its age?
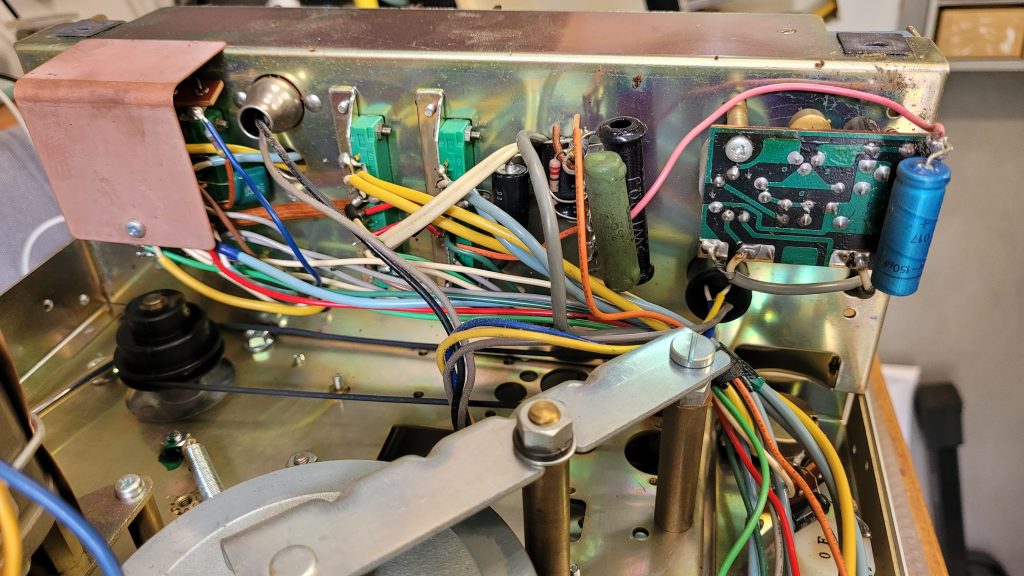
A quick Google on 4000D noise suggests the 2SC458 transistors can go noisy, like I had with the Pioneer SX-850 Common Faults and Fixes – so I’ve ordered some 2SC1845 replacements and report back in a later post. The PCBs are easily accessible as shown below.

Apart from the hiss, which is only noticeable on quiet recordings the audio quality is pretty amazing for a 50 year old machine. On 7½ IPS I could hear no obvious wow or flutter despite the belts being old. Frequency range is also impressive compared to my JVC compact cassette player I featured – JVC Cassette Player CQ-1K. But the Akai was running at 4 times the speed.
Replacing electrolytic capacitors
It’s tempting to replace all the aluminium electrolytic capacitors just in case. A quick visual inspection found no evidence of leakage. I decided to measure a section first to avoid possible damage to the PCBs desoldering. I tried out the meters mentioned in Component Tester Uses and Review. To my surprise all those in the audio circuitry I tested showed they were within the 10% tolerance or above it. I’ve found some original Japanese electrolytic capacitors from the 70s do measure a higher capacity than specified. But when used for decoupling or DC blocking this is not a problem.
As I intend to keep and use the Akai, I decided not to tamper with the audio capacitors until a fault develops. I can monitor and replace if necessary. I did however replace the power supply caps with new low ESR capacitors to keep hum levels as low as possible. (Increase capacity…)
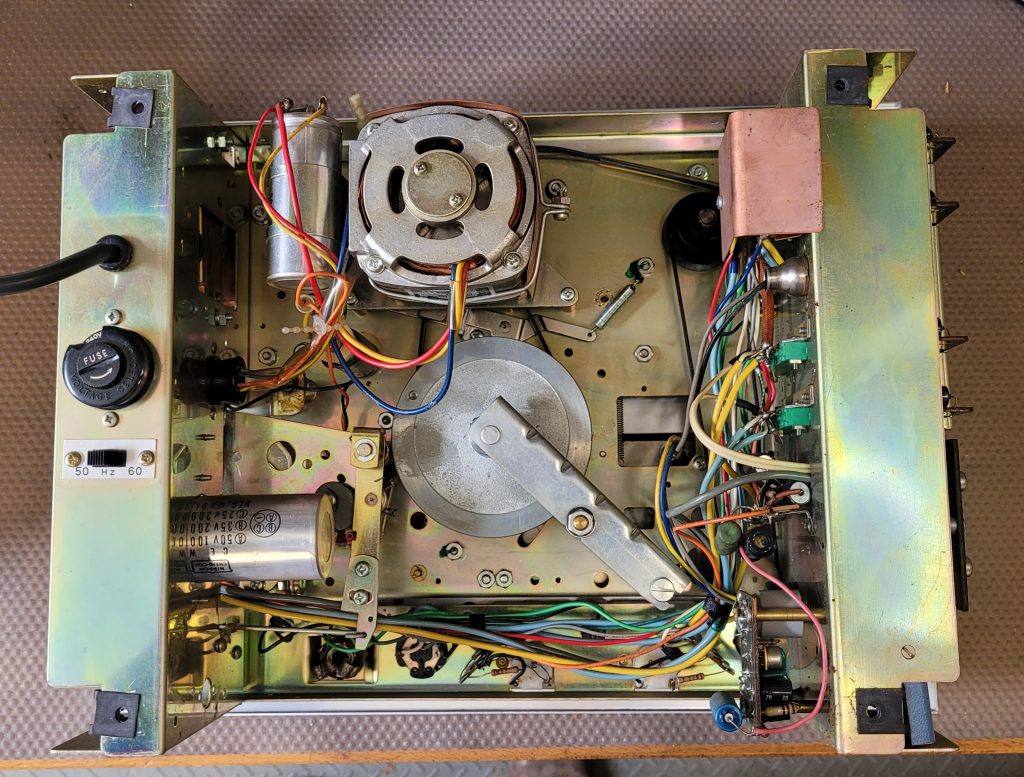
Slack belts
As you may notice below the small round belt that drives the tape counter is looking rather loose. I will look for a replacement.
The main flat belt that drives the capstan seems okay with reasonable tension. Again having a replacement to hand is sensible.
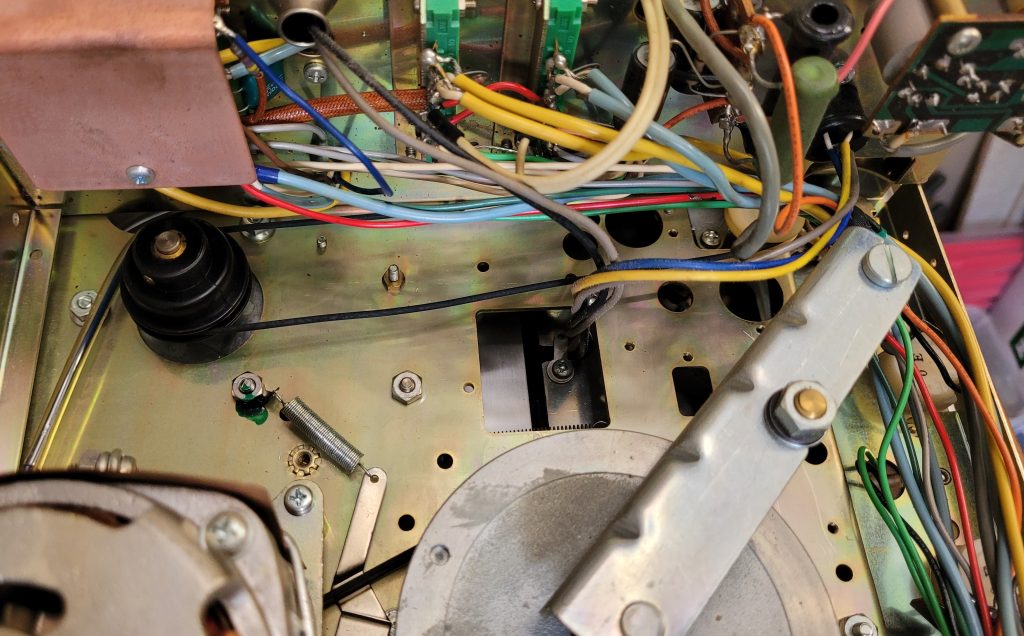
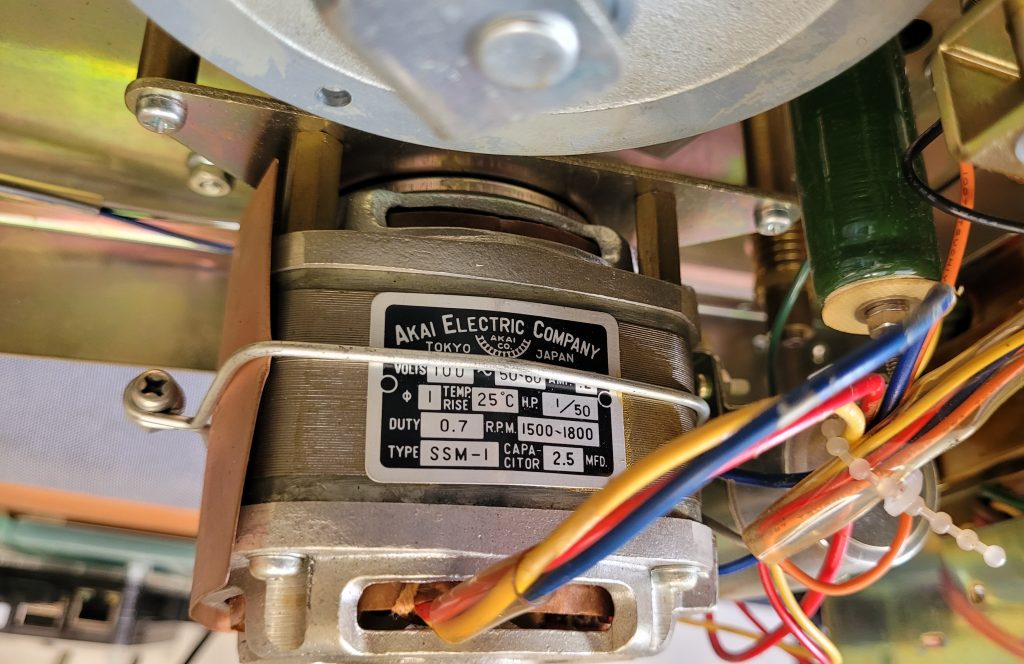
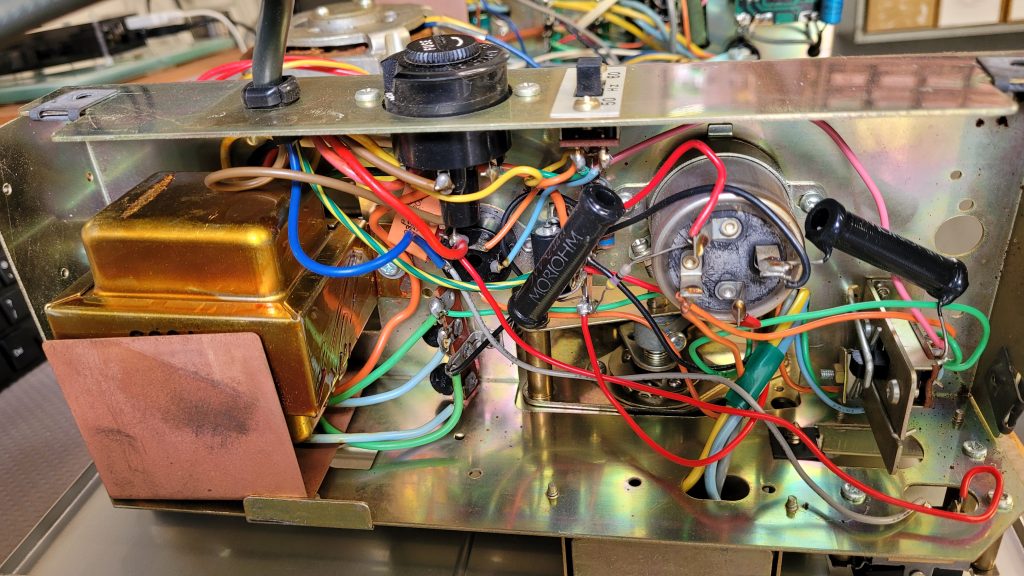
Internal images
Here are some more internal views showing the layout and major components.

Leave a Reply